In writing these guidelines, reference was made here to the Black & Decker SpaceMaker toaster oven. The installation procedure may differ slightly from one brand to another.
Washers, screws, and spacers for mounting should be removed from their packaging and checked to ensure they are complete before being stored in a secure location. There is a pattern sheet, or template, included.
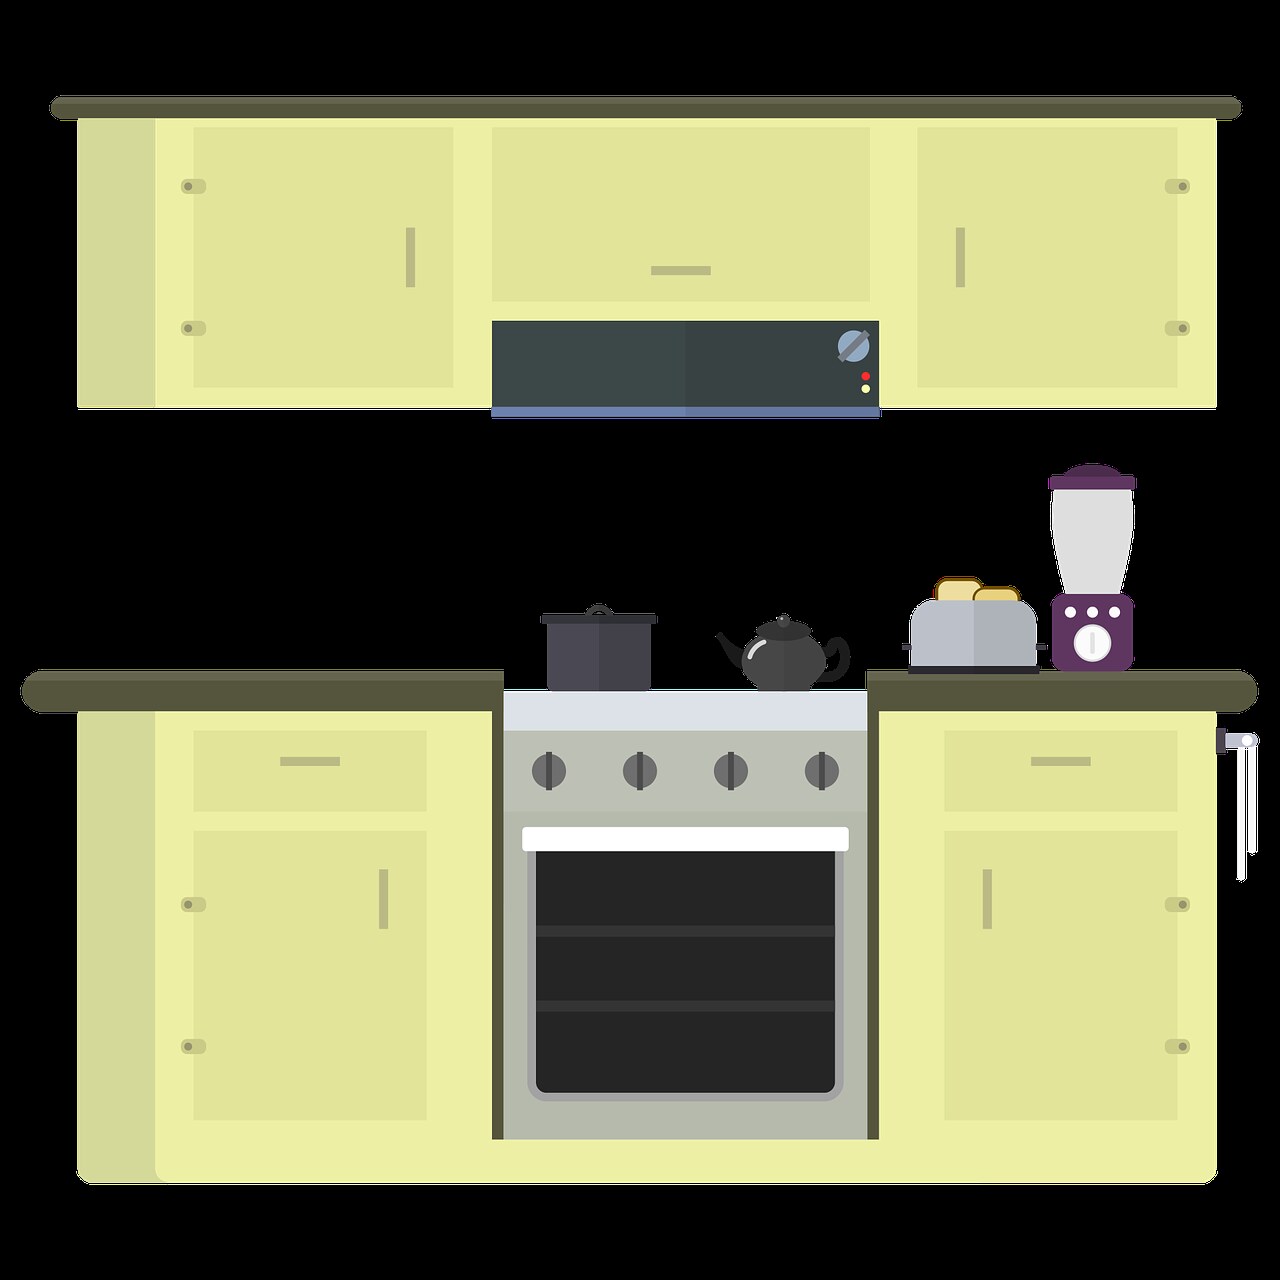
Placement considerations should include access to a power source. The supplied cord is relatively short. Avoid installing near or over the sink or other heat or cooking sources. Please keep it away from under-cabinet lighting, whether above or below. Also, ensure there is at least 4 inches of clearance around it.
As a first step, you must examine your cabinet and see if it has a flat bottom or an overhang. Check if the base of the cabinet is level with the front of the cabinet by reaching your hand under it.
The toaster oven’s hood/deflector can be removed to facilitate setup. You may remove it by gently moving the hood forward, which will unhook the front of the cover. The back hooks will disengage once the front ones have been unfastened.
Drilling.
To make mounting easier, empty cabinets first.
Align the mounting template’s thick line with the front edge of the cabinet and tape it in place on the bottom of the cabinet. Verify that the screw holes will not intersect with the inside cabinet divider.
If the cabinet includes a protruding section, its depth or thickness can be used to locate the corresponding dashed line on the template. Align the line with the front of the cabinet and gently curve it around the overhang, taping as you go. Keep it up against the cabinet while you finish. Tape it in place.
3. Drill holes through the four spots specified on the template from underneath the cabinet upward using a 1/4-inch drill bit, being careful to drill straight up through the mark on the template. WEAR PROTECTIVE VISION EQUIPMENT.
Remove the mounting template carefully once the holes have been drilled in case you need to relocate or remount the item later.
5. Sweep the cabinet’s interior and floor for dust and dirt.
Install a washer over the four holes you bored within the cabinet.
Align the drilling holes on the cabinet with the mounting holes on the hood, then hold the hood in position.
Screw the hood to the cabinet by inserting the screws through the holes in the interior and tightening them. If the base of the cabinet protrudes beyond the countertop, calculate the height of the overhang and apply the appropriate amount of spacers to achieve that height. For instance, if the overhang is 1″ from the bottom of the cabinet, you’ll need two 1/2-inch spacers on each screw to ensure that the toaster oven is mounted plumb and square.
Remember that loose screws can cause your appliance to tremble or move while running.
Lift the toaster oven by hooking the back of the hood onto the back and then the front hooks into the front of the oven. A cable management hook is located at the back of the device and can store any slack cords.
If you’re installing the spacers yourself, have a helper keep the spacers in place while you set the hood. If no one is there to lend a hand, the ones in the front might be able to be clamped in place. If you don’t have any clamps or nobody to help you, you’ll need to get inventive to find a solution.
Put the toaster oven on the hood and clean the interior and exterior of the appliance. Just plug it in and get to toasting and baking.
Read also: Paint the Walls in a Whitewash Bedroom Furniture Decoration